Have you been working hard getting your blog site ready for public consumption? Are you ready to show your friends and family what you’ve been doing? Do you lack the funds, time, or energy needed to host an in-person launch party?
If you answered yes to any of those questions, then let me tell you how you can launch your blog FOR FREE with a Facebook party that will set you off on the right foot.
By the way, I did this. I loved it. I will do it again (more about a “second launch” at the end of this article).
What’s an Online Facebook Party?
I have been to plenty of online parties with my Facebook friends who were selling leggings, books, and other items through multi-level marketing (MLM) companies.
I have attended so many that I have a solid understanding of how they work and how they will work wonders for bloggers.
If you’ve never attended one and don’t know what I’m talking about, don’t worry. I will teach you everything you need to know!
Here’s the gist:
- You create a Facebook event and invite all of your Facebook friends.
- This event is your party, and you will set a date and time for the party.
- During the party, you can ask the attendees to perform tasks, watch videos, respond to questions, etc.
- All of these tasks are aimed at getting your guests to interact with your blog site.
- At the end of the party, someone usually wins something (more about that later).
Creating the Facebook Event
1. Use your personal Facebook page to create the event. You can and should do this at least several days before the party starts. That will give you enough time to set up all of the party posts.
2. Choose a date and time for your party. I set up my blog launch party to last 3 days. I highly recommend doing this.
You can make it even longer if you’d like. Setting it up for an extended period of time gives everyone the chance to interact with the posts, do what you’re asking, visit your site multiple times, and invite others to do the same.
3. For the location, make sure you write “online.” If you don’t, guests might unexpectedly try to show up at your house. Eeeks! Note: I also made sure to include “online” in the title of my event/party and in the text of the invite.
4. Make sure you allow guests to invite other guests. This will make your party even more fun and successful!
5. The next item of business is to decide what your “end game” or “prize” will be so that you can write the invitation. You do not have to offer a prize, but it will definitely get people more excited and lead to more participation.
I ponied up $25 cash as our prize. Depending on your blog, niche, and party guests, here are some other ideas for prizes:
-
- Tshirt, keychain, button, or similar swag with your blog’s name on it
- Product that you already make and sell on your blog
- Gift card to somewhere related to your blog
- Free lifetime access to something you’ll be selling on your site
Keep in mind that you want to entice as many people as possible with your prize, so if you’re offering a product, access, or course, you may want to offer a cash option for those who don’t want or need those items.
6. Next, it’s time to write your invite. Make sure that you personalize it and let your guests know what to expect. Here’s what my invite said:
“Hello, friends and family! We have started a blog called Circle City Adventure Kids, and you’re invited to our LAUNCH PARTY! This online party will last for 3 days. During that time, we will NOT be asking you to buy anything. Instead, we will tell you more about the blog and ask that you help us advertise and bring others to the blog by performing easy online tasks (liking pages, sharing pins, etc.). All of those who participate in helping us spread the word about our new blog will be entered into a drawing to win $25 cash. Please feel free to invite others to the party if you’d like. We’re excited about this new venture, and we’d love for you to share in our excitement! ♥”
7. Consider adding other hosts to the event so that they can drum up excitement. My husband was the co-host for our blog launch party, and I think seeing his name on the invite encouraged some of his friends to participate more in the party than they would have otherwise. Plus, he’s working with me to make this blog a success, so he definitely needed to be a co-host of the party.
8. Create a fun and inviting cover photo or video for your party.
9. Invite everybody! Why not, right? If your Facebook friends don’t want to participate, they can easily decline the event or ignore the updates about it. No big deal.
Creating and Posting Activities
Now that the event is created and the guests are invited, you’ll need to do the following:
1. Come up with a list of activities for your guests (just like if you were hosting an in-person party!).
Here is a list of 10 possible activities for your guests to complete:
- Check out the blog site
- Like our Facebook page
- Follow us on Instagram
- Follow us on Pinterest
- Pin one of our pins to one of your boards on Pinterest
- Take our Google survey
- Complete this Facebook poll
- Comment on one of our blog posts
- Subscribe to our email list
- Watch this video about our product
If you’d like to hear more ideas and see the actual posts I used in my party (that you can copy and use in yours), then consider purchasing my Online Blog Launch Party Kit for just $9.99.
2. Depending on which activities you choose and how far along you are in creating your social media accounts, getting the activities setup can take some work.
Just keep in mind that your guests know you are just launching your site. Meaning, they won’t expect to see too much on your social media sites.
3. Definitely consider adding at least one participation activity (feedback, poll, live video) to hold interest and have fun!
4. Once you’ve decided on the activities for your party, it’s time to create the numbered posts. It’s so important that you number these so that your guests can follow along.
This also ensures that your highly engaged guests will have a way to check and make sure that they’ve done everything you’ve asked.
For my party, each activity had a certain number of entries into the drawing for $25, so in addition to the number of the post, I included the number of possible entries at the top of each post as well. Here’s an example:
💌Post #5 💌You can earn up to 3 entries here!!!
5. For each of my posts, I created a special image that was both engaging and informative. Then, I made a post description that explained exactly what I wanted the guests to do.
If I was asking them to go to the blog site or a social media site, I made sure to include the link in my post. Here’s an example:
This entry opportunity requires you to have an Instagram account. Please go to Circle City Adventure Kids Instagram and follow us. This will give you another drawing entry.

6. I created all of the text for my posts in a Google Doc ahead of time so that I had everything ready to go for the start of the party.
7. I used Canva on my desktop and Word Swag on my phone to create my images. I had all of those ready ahead of time as well.
Since this is a party mainly for your friends and family, I suggest using pics of yourself, your product, or your family (depending on your niche) to further personalize the party and maintain interest.
8. Make your “final count” post. Create a numbered post that indicates it is “the final post.”
If you’re giving out a prize, explain that your guests should comment on that post with their total number of drawing entries by a certain day and time. Be very specific about when they need to comment and when you will be doing the drawing.
You should also include a list here of all of the possible points/posts/activities to help them add up their total.
If you’re not including a prize for your party guests, the final posts is where you could thank them for attending and ask them to comment about their overall impressions.
9. Finally, either right before your party or at the very start of it, go ahead and post all of your numbered posts and get ready to party!
10. Be an attentive host. Make sure you check all of your posts throughout the party to respond to your guests’ comments and to update guests about any news.
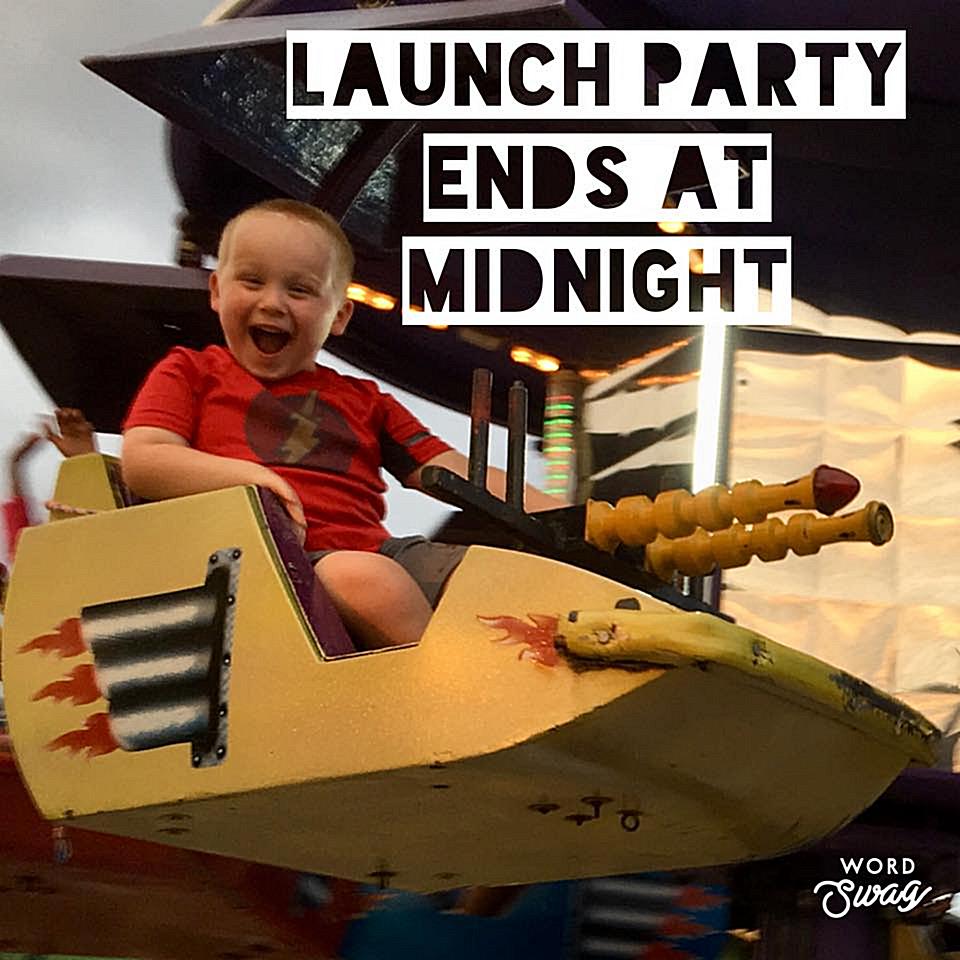
11. Throughout the party and definitely towards the end of the party, you should post reminders about when the party is ending. Here’s an example:
Ending the Party
1. As I’ve stated, it’s important to have a specific end time for your party, and it’s also important to have a specific time that you’ll be posting your winner (if you’re doing that).
2. I used the free website called Wheel of Names to enter everyone’s name and number of entries. Then, when it was time to announce, I just created a video so that everyone could see the wheel spinning.
I also use the video to thank all of my guests one last time.
3. Additionally, I made sure to have a “shoutout” post where I thanked everyone who had helped with my blog so far.
Bonus: Second Launch
I had so much fun at this launch party and found it to be so easy and successful that I plan to have a “second launch” sometime down the road.
For the next party, I will create a group where I can invite my blog followers and email subscribers to the party rather than all of my Facebook friends.
This second launch will allow me to:
- Award my followers
- Increase the excitement and engagement with my site
- Allow followers to invite others to the group and party (increase following!)
Conclusion
Overall, this online blog launch party was a huge success for me! I really enjoyed sharing my blog with my Facebook friends in a lighthearted way that also provided me with valuable feedback.
If you haven’t launched your blog yet, NOW is the time! Stop dragging your feet, forget about your apprehensions, and make it a party!
Online Blog Launch Party Kit
If you want a detailed step-by-step guide for creating the content for your party posts and the inspirational graphics to get you started, purchase my Online Blog Launch Party Kit for $9.99.
This kit includes ALL of the following:
- All 11 posts that I used for my launch party. You’ll be provided with the exact words that you can copy/paste and use in your own party!
- All 11 graphics/images that I used for my launch posts.
- Tips and tricks for how I created my graphics/images so that you can easily replicate your own catered for your blog, niche, and guests.
- A copy of the Google Form survey that I used for my launch party so that you can create one of your own.
- 13 additional party activity ideas for you to use in making your party even more awesome!
If you’ve had a blog launch party or followed my steps for hosting one, I’d love to know about your experience! Please let me know in the comments.